This used to be an Arcade1UpRampage cabinet! The Arcade1Up hacking community is pretty large at this point, with tons of resources and
replacement parts to modify any A1Up cabinet. As my first go at this, I went with the typical replace with a Raspberry Pi running RetroPie build.
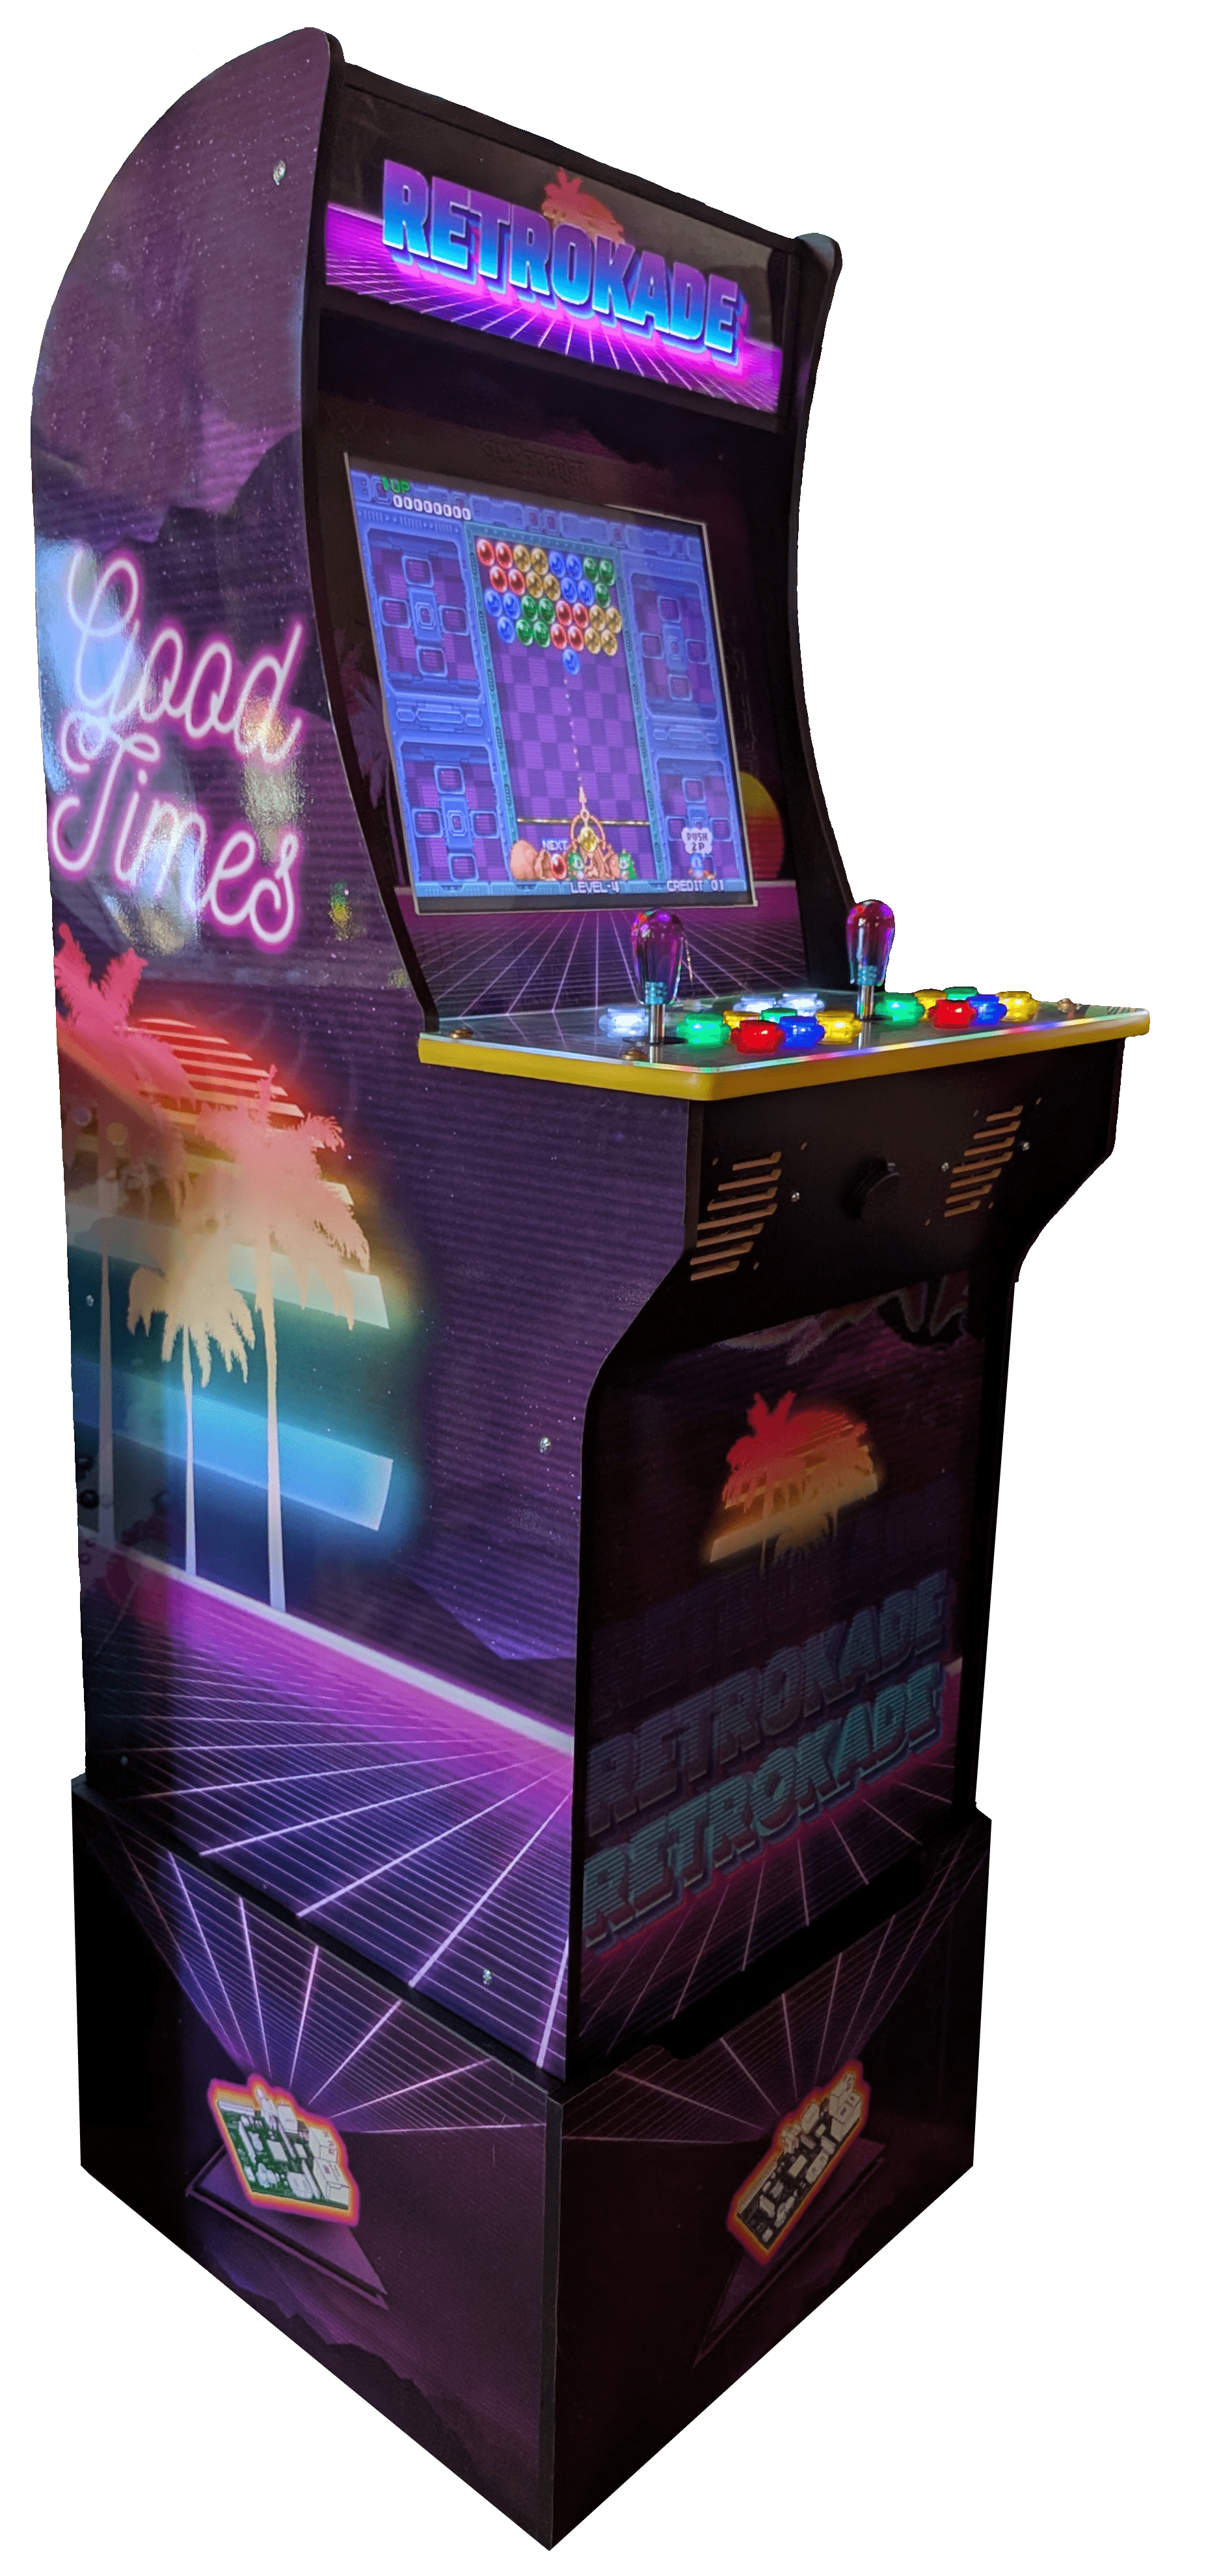
Light-up Marquee: I designed a custom marquee graphic, and sent it to TheArcadeGameFactory.com to have it made into a new illuminated marquee, which was a drop-in replacement
for the standard marquee. I've also bought light-up marquees for other cabinets to replace the stock wood ones.
Control Panel: I ordered a new control panel through GrafixArcade on Etsy, but they don't appear to do custom button layouts and T-modling anymore.
ArcadeModUp is another vendor that will do custom layouts, T-molding, graphics, and more for a decent price.
Speaker Panel: I bought a replacement J panel with speaker vents from TulsaArcades
on Etsy. These are the easiest to replace, just slide into place once the control panel has been removed. I also ended up drilling a hole in the middle to install a double USB port surface mount.
Surprise – it's a Raspberry Pi 4! It's running RetroPie, so of course! Currently, it's running a modified version of the Carbon theme, with
a bunch of custom icons I designed for all the categories I organized (this playlists of games) - Hacked, Kids Stuff, Mario Bros, Beat'em Ups,
Cards & Casino, Racing, and a list of the original Mame games that were on this cabinet – Rampage, Gauntlet, Joust, and Defender.
Monitor Adapter: By default, Arcade1Up cabinets have their computer logic board and the monitor control/logic board combined as one PCB, which makes it difficult to use the monitor with anything else. In order to use the monitor as a basic HDMI display, and plug in any other computer,
you need an adapter logic board. Arcade1Up also uses several different monitor sizes and resolutions, depending on the cabinet; so first, make sure you know the size and resolution of your cabinet's monitor. The Rampage cabinet was a first gen cabinet, and that used a 17" 1280x1024
monitor, and so I needed this adapter specificially.
Speakers: I wanted to upgrade the speakers, since the ones included were very cheap, small speakers. I ended up getting these 3 1/2 inch 2-way Pioneer car speakers, and attaching them
directly to the speaker panel board. These of course needed some copper speaker wire, and an amp (see next).
Audio Amplifier: After trying a couple of small audio amplifiers, I went with this Pyle Home Mini Audio Amplifier. It sounds fantastic, and uses a 3.5mm audio jack out for the Raspberry Pi.
This amp did not come with an AC power supply, so I found this power adapter that works great.
Joystick & Buttons: I bought a basic 2-player set of 8-way joysticks and LED illuminated buttons from Amazon,
which all wire into USB and can be configured like a basic video game controller. These are super easy to install, only the joysticks even need to be screwed in - just make sure the buttons are the correct diameter –
28mm is standard, but there are also buttons in 30mm. I also replaced the joystick ball tops with these beautiful bat tops from ArcadeShock.com.
All the parts and accessories I bought off Amazon can be found here.
 Arcade1up + RetroPie


